on Mon, 03 Oct, 2016

Two things you should know about me as you read this post: I am crafty and I like Harry Potter. Okay, I don’t like Harry Potter, I love Harry Potter. Recently I had two Harry Potter Themed Belly Dance Performance. The first one was at No Shame Eugene. I danced to some fun music, including “Dark Lord Funk” which you can find a post and link to a video the artist made here:
https://www.bellydanceeugene.com/performances
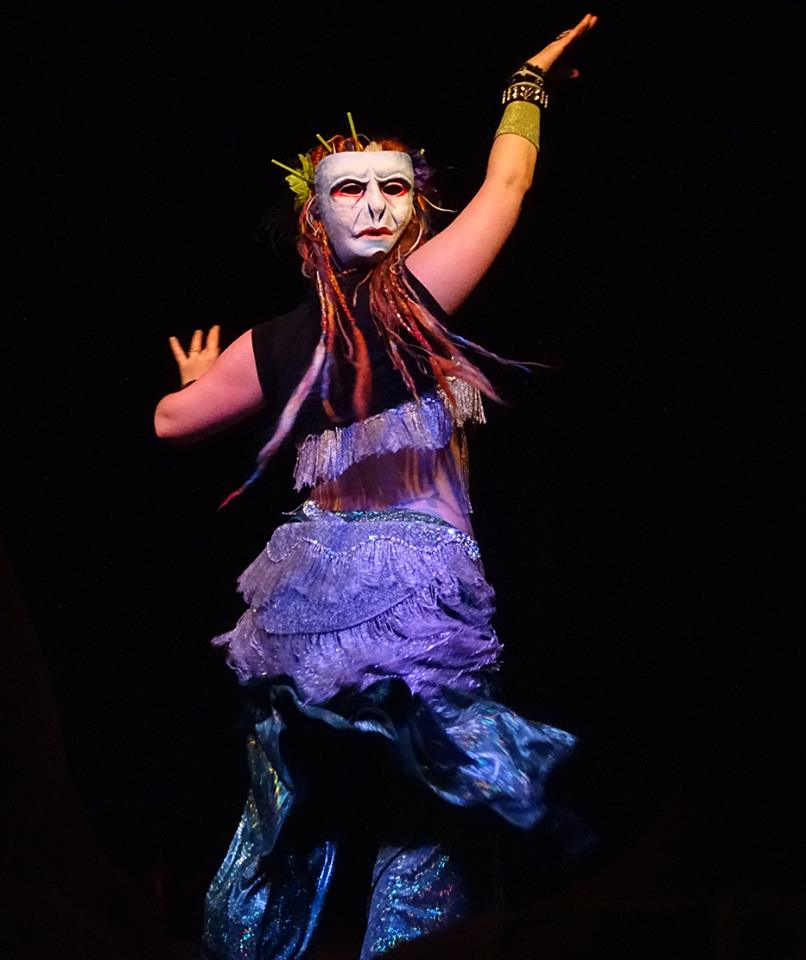
During my second performance, I had more time to work on my costume and make it more Harry Potter themed. I remembered to put the scar on my forehead, wore big black glasses, had death eaters on stage, dark marks and the whole shebang. I also revealed “my little friend” in a Professor Quirrell-like moment.
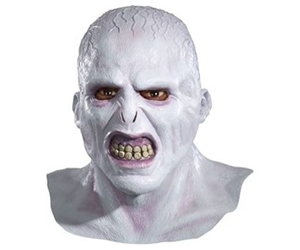
One of the things that made me decide to make my own Lord Voldemort mask was that the ones sold online didn’t look like him and it was for the whole head and upper body. I just wanted a head growing out of the back of my head. In hindsight I wish I had used a full mask instead of one that was flat. Though it was time consuming, it also was less expensive. Most of these store bought masks cost around $50. In any case, I think my mask looked way better than the ones I looked at online.
Below are the steps I used to make my a Dark Lord’s mask.
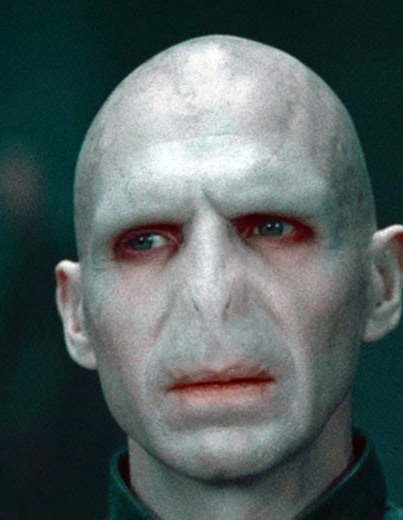
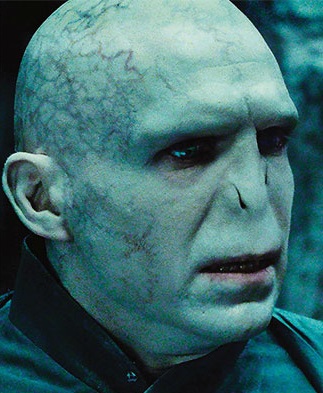
I started with references before I did anything. To be a good artist, accurate photographs are important. Notice how red his eyes and mouth are and the blue-gray veins at his temples.
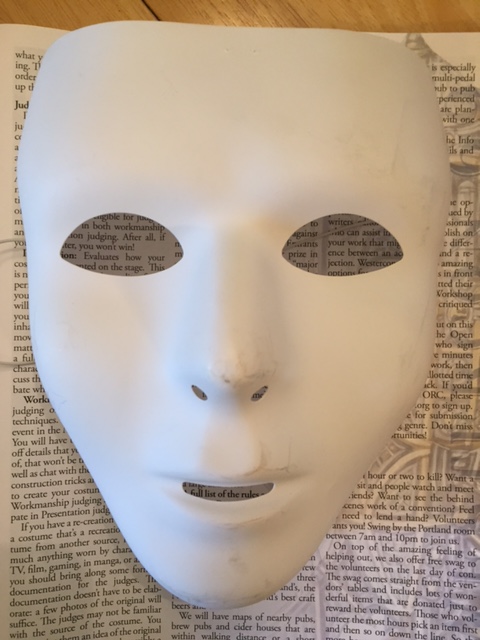
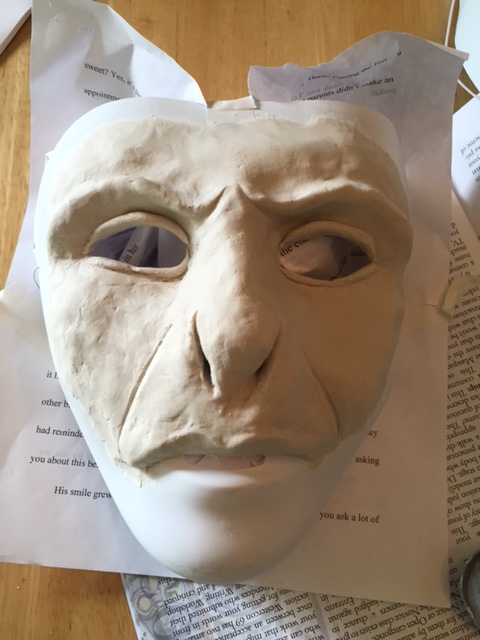
I started with a mask form left over from previous performances.
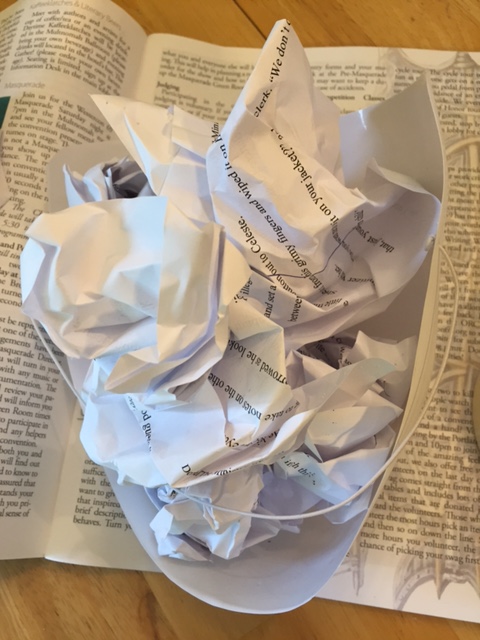
If the mask hadn't been so wobbly, I probably wouldn't have needed to stuff the form with newspaper. But I knew I would be making a mess no matter what, so I did cover the table with paper.
In the first stage I used air drying clay to mold the face and build up the area that weren’t the nose so that the nose would disappear. This took three days to dry.
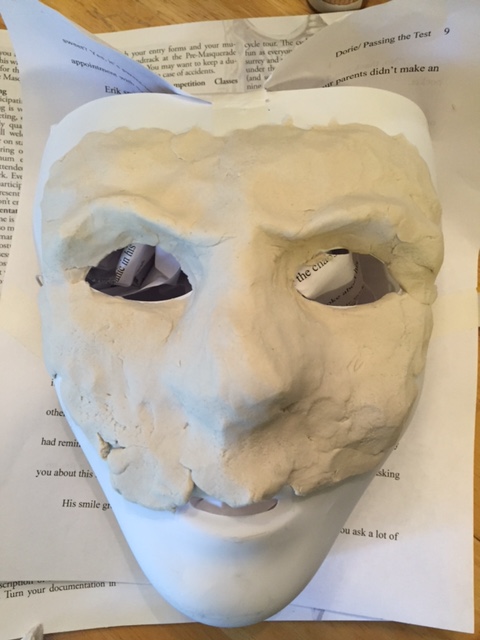
I kept sculpting until I got an angry look from him and the nose looked flat enough. I wished I'd bought two packs of clay because I could have built up his forehead even more.
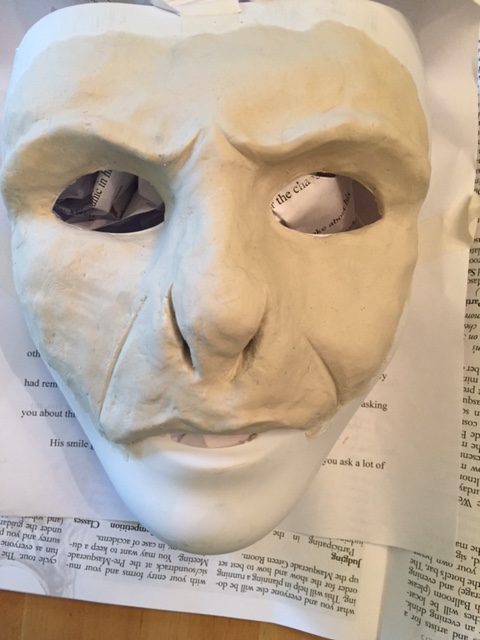
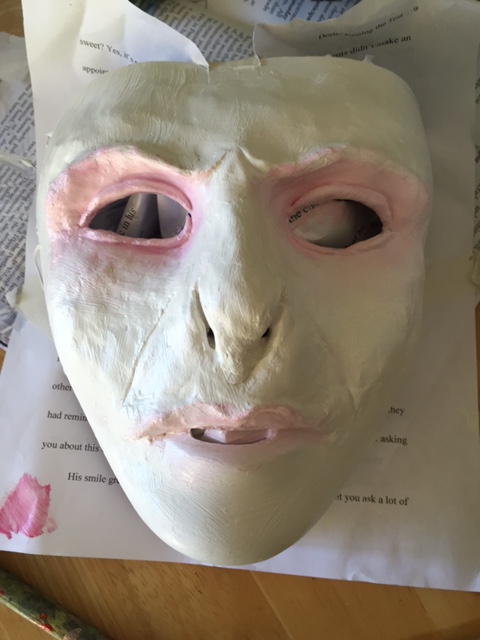
I primed the mask with gesso. This helped seal up cracks that had occurred in the air drying clay and glued the mask better to the form. At this stage you also see the start of color around the eyes.
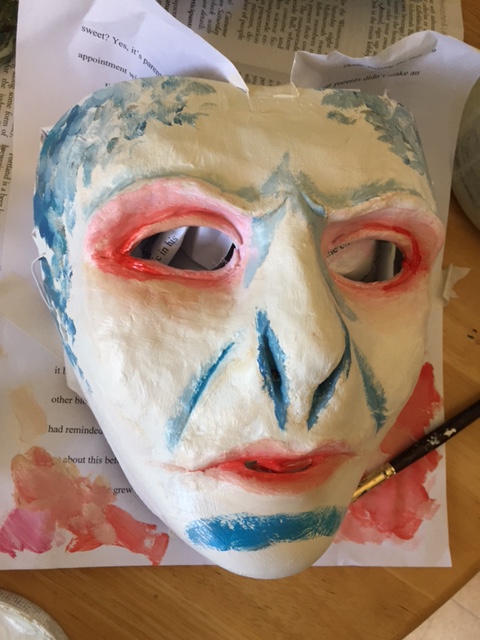
I built up the colors slowly. In many of the photos and movies his face looks blue-green because of the lighting. He is always shown at night. I didn't want to do it too dark so I started lighter than I actually needed.
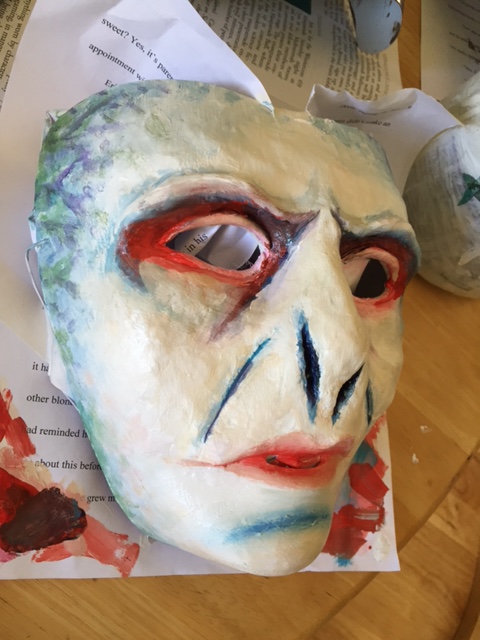
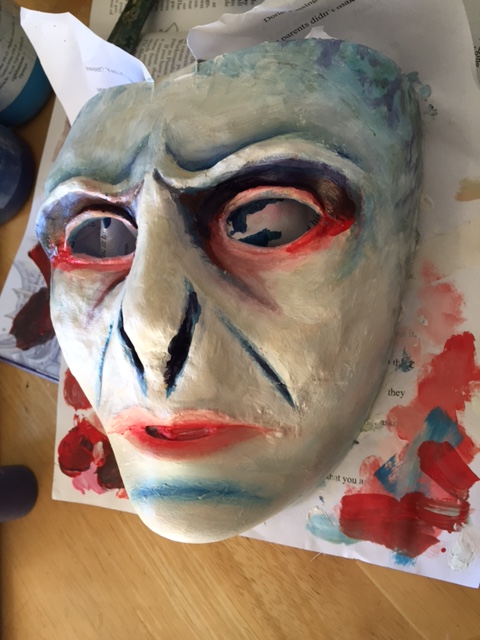
I built up more layers. I wanted his mouth to look like a bloody smear but was afraid if I used the wrong color it would look like lipstick. I liked the mask at this stage but I knew it would be too washed out on stage.
.JPG)
Here you can see the sides with the veins.
For my last step, I bought green LED lights so his eyes would light up. Because I didn’t want the lights to fall out, I used a plastic package to make a barrier or screen behind the eyes. Unfortunately, I couldn’t get the lights to light up until AFTER I was done performing. For that reason, I will have to get some more use out of this costume.